Branding your cups is simpler than most business owners expect. There's no design degree required and no giant upfront order. Here's how the process actually works, start to finish — you can also see it summarized on our custom branding page.
Step 1: Send your artwork
Start with whatever logo you have. Vector files (AI, EPS, PDF, SVG) are ideal because they scale cleanly, but high-resolution PNGs and JPGs work too. A good cup printer will clean up and lay out your art for free — you don't need print-ready files to get started.
Step 2: Choose your cup and colors
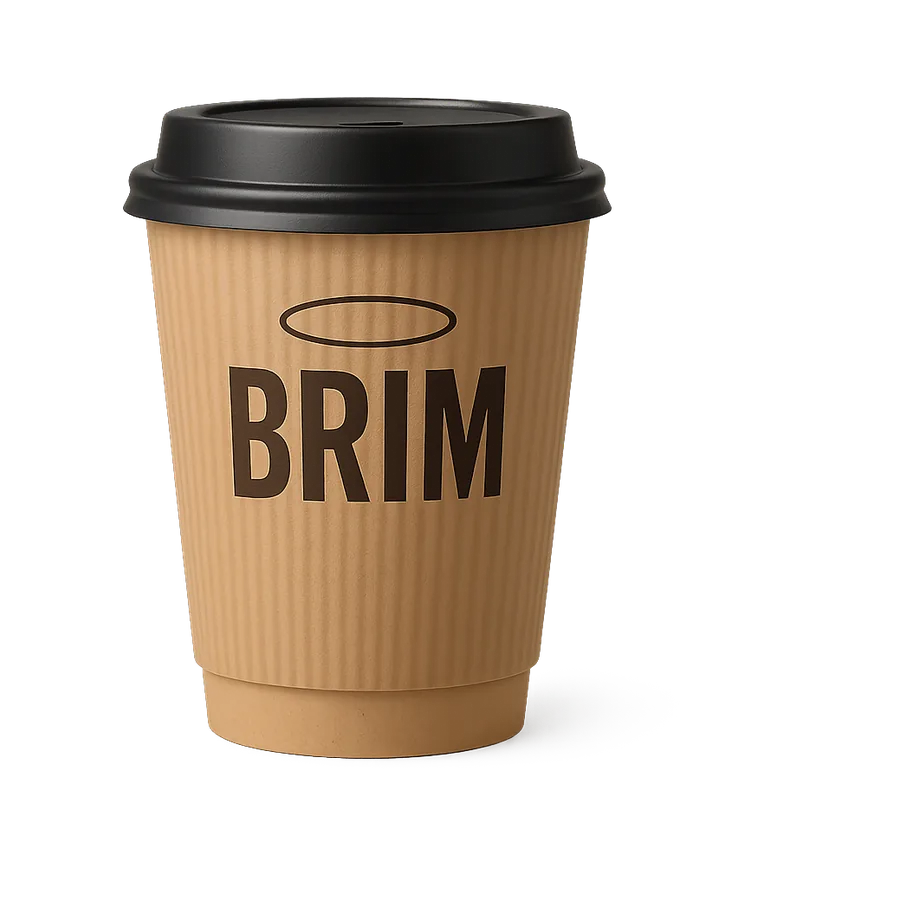
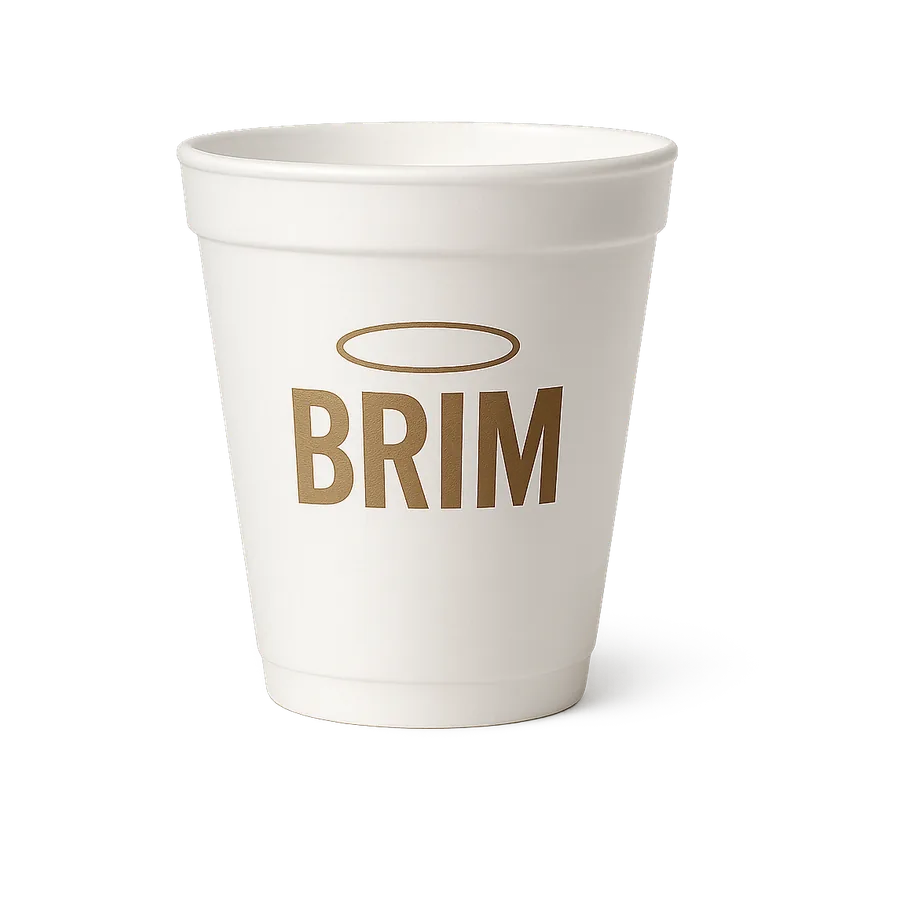
Pick the cup material and size that fits your menu, then decide on color. Cups print in full color, so multi-color logos and artwork are no problem. The print wraps around the cup, giving you a generous branded surface.
Step 3: Approve a digital proof
Before anything goes to press, you'll get a free digital proof showing exactly how your brand sits on the cup — size, placement, and color. This is your chance to adjust. Nothing prints until you sign off, so there are no surprises.
Step 4: Production and delivery
Once approved, your cups run on high-speed, food-safe presses. Most custom orders ship in about two to three weeks. Your artwork stays on file, so reorders are quick and consistent every time.
Ready to brand your drinkware?
Send your logo and quantity for a free proof and your best wholesale price.